Kurt Custom Pinion Blank Gage – In-line Inspection of Pinion Blank
Kurt Engineered Systems designs and builds manually loaded and fully automated in-line precision gaging systems that measure 100% of the parts being produced on
Request a Quote
Description
Description
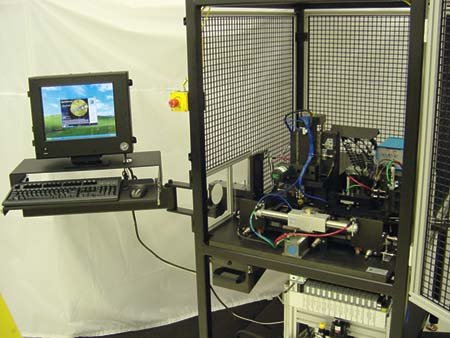
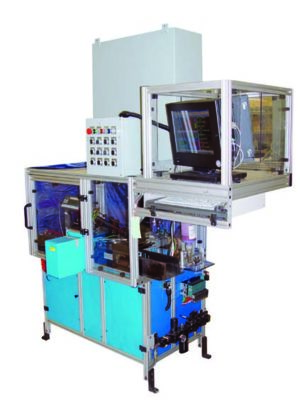
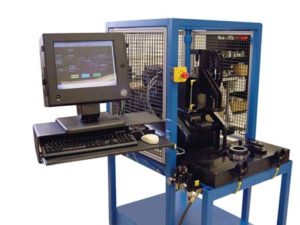
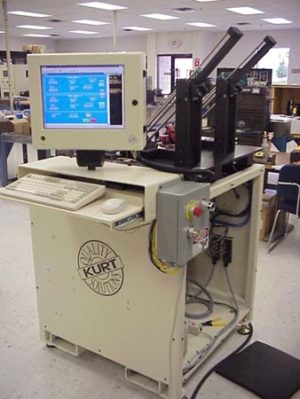
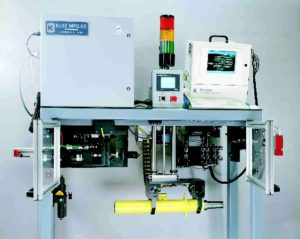
The Pinion Gage was designed and built by Kurt for a high volume production line to measure 100% of the critical characteristics on the ID and OD of each pinion blank produced. Each blank is introduced into the gaging system by a conveyance system. The gage stages and controls part entry into the machine.
Two measurement stations capture the required data; one station for the ID measurements and a second for OD measurements. Both stations collect data dynamically as each part is rotated 180 degrees. Data is collected at each measuring point at the rate of at least 2000 readings per second. The gage utilizes both non-contact air and contact LVDT measurement technologies to capture the required features. Once every 12 seconds, a part is either passed through the gage as good, meeting all measurement criteria, or is rejected and segregated automatically into a reject tray.
KurtUSB Analog and LVDT interface modules capture all measurement data. All gage I/O management is controlled by KurtUSB I/O interface modules. The I/O functions very much like a PLC. It provides complete closed loop gage control for all part flow through the measuring machine and also for measurement triggers. The elimination of the PLC means the system is built at a lower cost with one software package that provides full system control and less complexity.
The Pinion Gage system consists of several major components including the following standard products from Kurt:
Mechanical: Kurt pneumatic and leaf spring measuring heads
Electronic: KurtICS Industrial Computer
KurtUSB LVDT, Analog and I/O interface modules
Software: KurtSPC for all data collection and data management
KurtSPC for all part management and gage movement
These product lines are integrated into all Kurt built gaging systems. The Pinion Gage performs with standard shop air, filtered on the gage and standard 110VAC.
- 0.065mm Outside Diameter of Part
- 0.0055mm Inside Diameter of Part (3 Locations)
- 0.0055mm I.D. Barreling, Waisting, concentricity
- 0.065mm Length
- 0.010mm parallelism of ends
- 0.010mm 1st order harmonics
- Segregation of all non-conforming product
- 12 second cycle time
- Changeover for 5 specific Pinion Blanks
Request more information or see the Kurt Engineered Systems piston gage, truck hub gage, and examples of all custom gages.
Reviews
Reviews
You must be logged in to post a review.
There are no reviews yet.